8 Scenes
8.1 Using Scenes
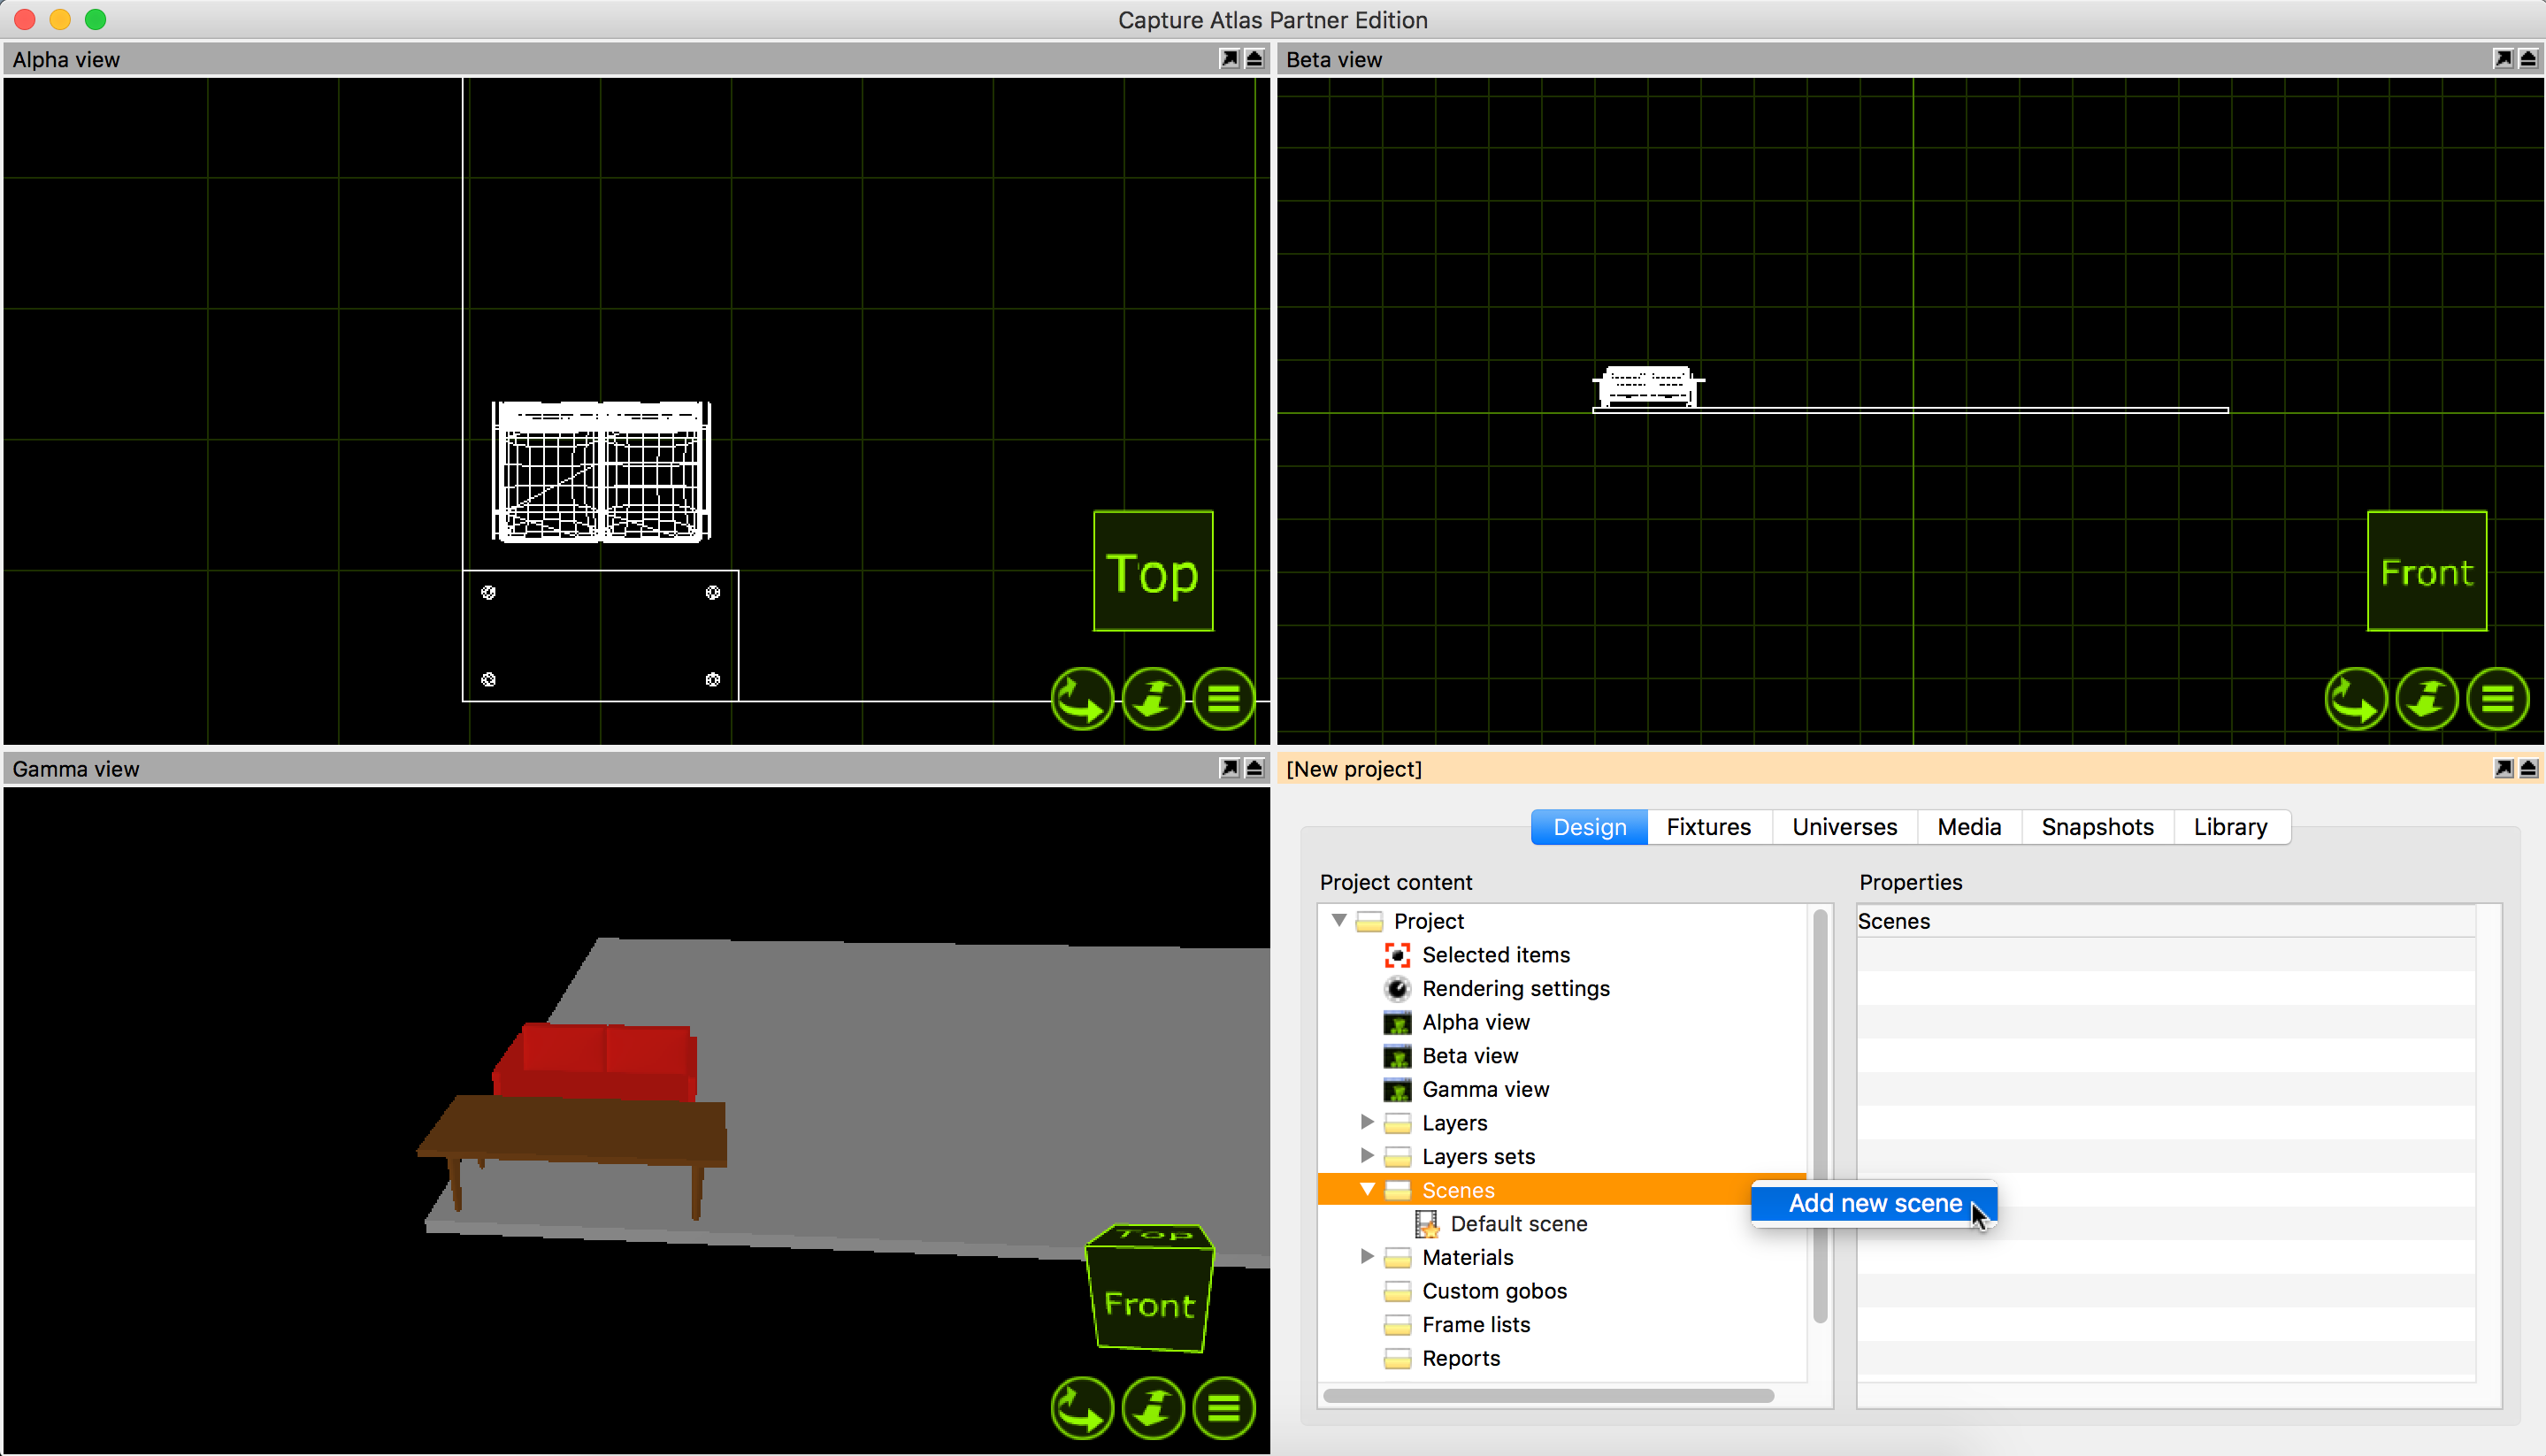
Working with scenes allows you to modify the position and visibility of objects in different parts of a performance. If you wish to do this, it is important to set the Include in scenes property of the objects that wish to have dynamic positioning/visibility (this is important because many items such as the rig, truss and house will usually not be part of what can be moved during a show and keeping them out of scenes prevents you from making serious mistakes). Scenes are not stored or recalled – you are always working in one scene at a time and you can safely switch back and forth between scenes without risking loss of any position information. Scenes are most useful in a Theatre environment were you have one set of scenery for Act one and another set of scenery for Act two. By default there is already one scene in any project file - the “Default Scene”. To make more Scenes, right click on the scene node in the project window. Select “Add Scene” and name the scene accordingly.
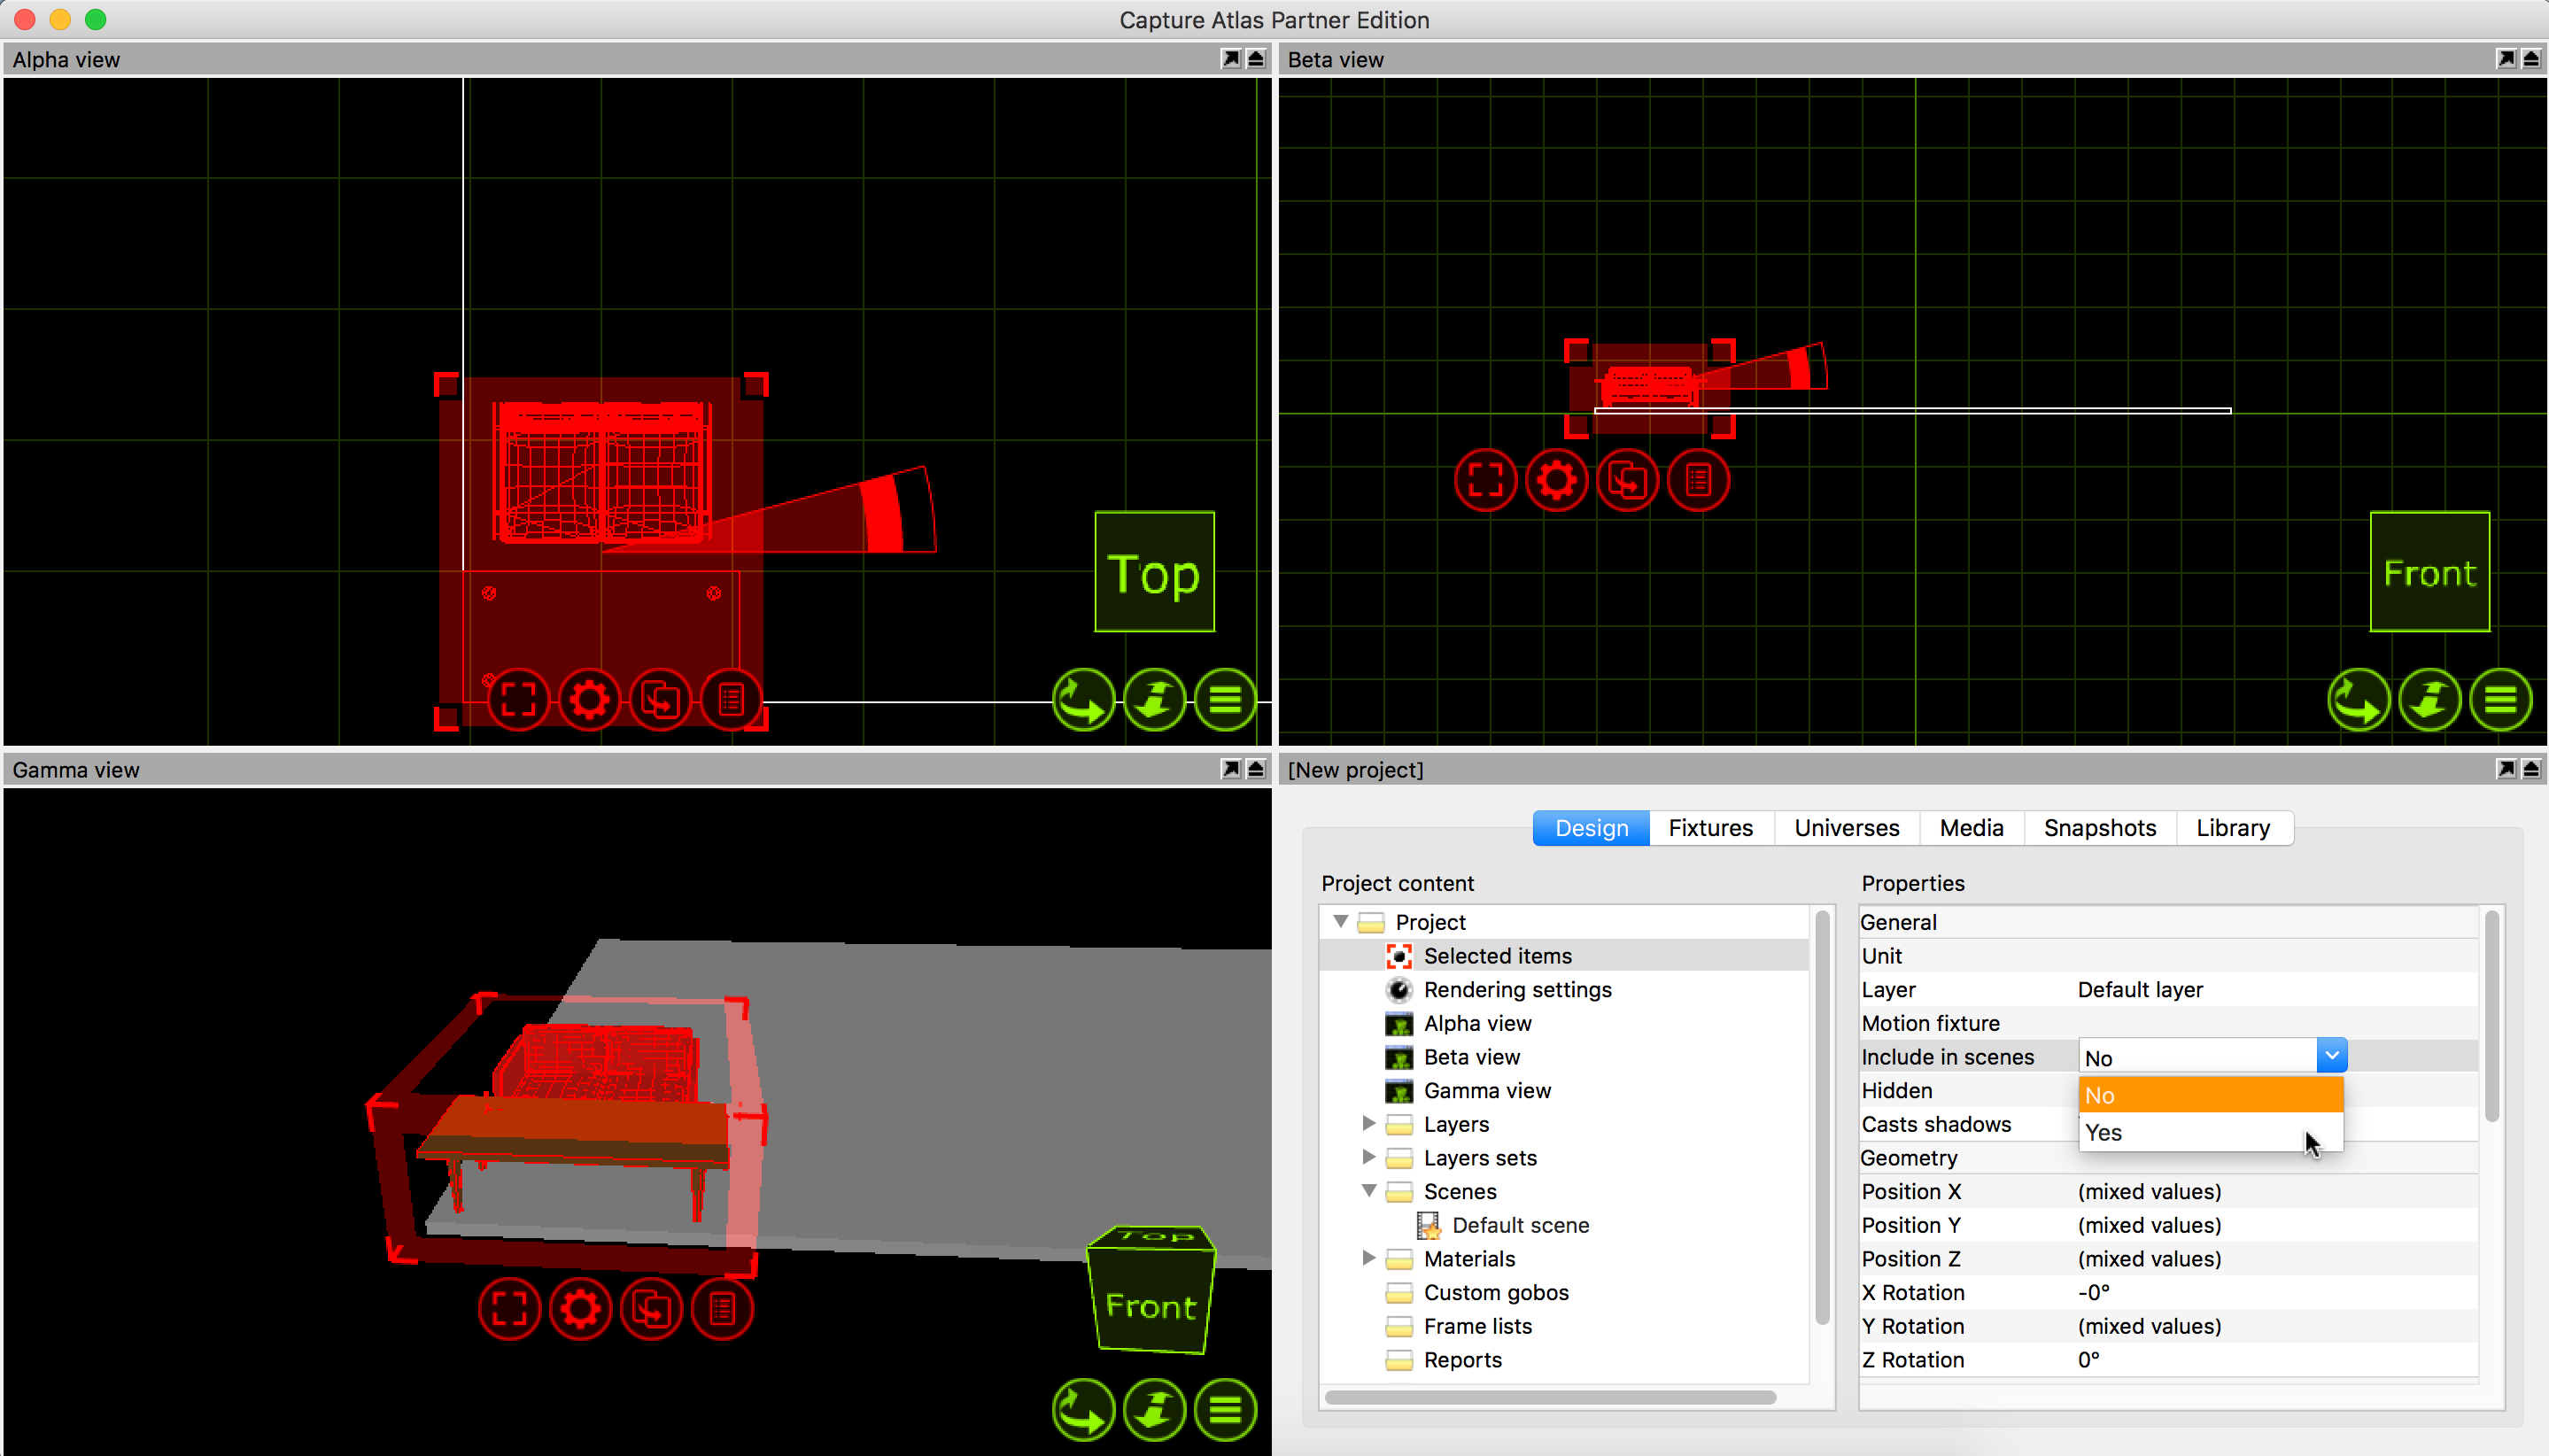
Once you have made a second scene, we can proceed to make a scenery change. Add some scenery and position it as per your liking. Select all of the scenery, in the properties, locate the “Include in scenes” property and set it to “Yes”. Now double click your second scene (or right click on it and select “Go to scene”). Now we are in the second scene, move the scenery to a new location. Now switching between the two scenes moves the scenery between the two locations.