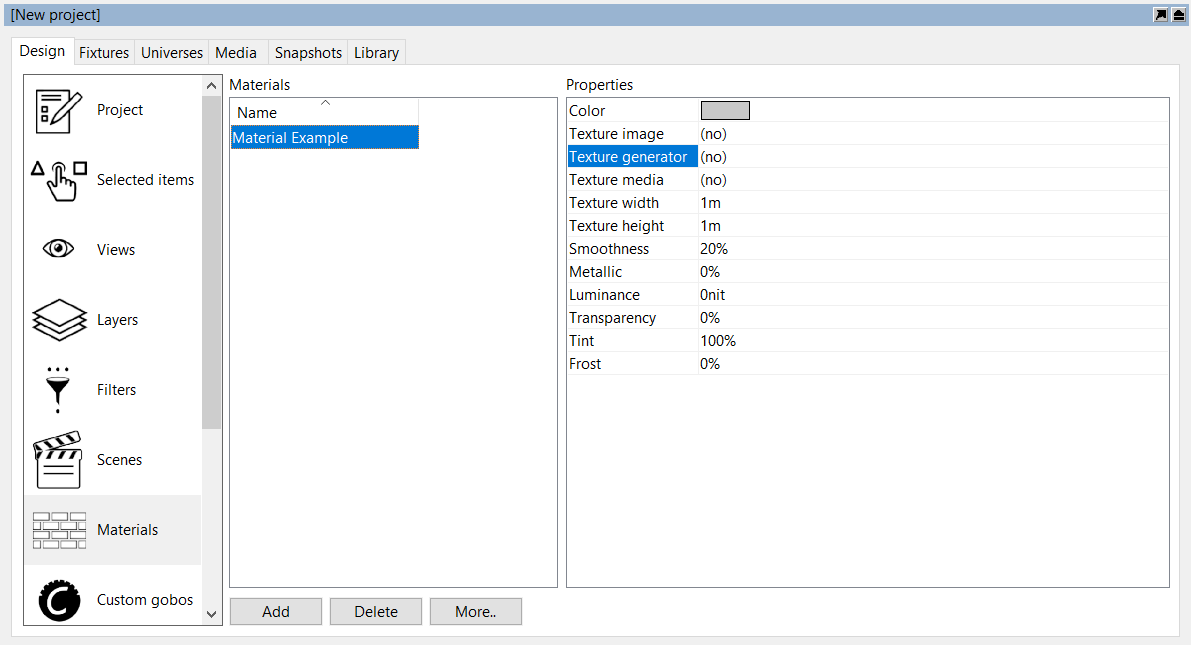
9 Materials
9.1 Using Materials
Materials offer a way of applying a static image or video to an object. The best way to use a material is to think of it as an example of what your object is going to look like. They are useful to make objects appear as different things, for example mapping a picture of a bricks to a thin box, making it appear as a wall.
The library contains a selection of materials which can be applied to objects by dragging and dropping them from the library on to the object. To apply the same material to many objects, you can select the objects first and then drag and drop the material. The image and colour of the material is combined with the colour of the object that the material is applied to. Hence, if the object’s colour is set to black, the material will appear black.
You can create your own materials in the Design tab of the Project window, under the Materials category. You can then apply either an image from a file, a video on the local hard drive or streaming video source from a connected media server. To apply your own materials to objects, drag and drop them from the Materials branch rather than the Library tab.
In this example, we will look at using Materials to change the appearance of a thin box. First, make a new material in the project window.
In the material properties, available on the right when the material is selected, you may choose an image or video source. Double click on the image option and choose an image from the local hard drive. In this instance, the image will be a picture of some bricks. Once you have chosen the image, drag the material from the project window to the object you wish to map it to.
9.2 Mapping Materials
Once you have applied a material to an object, you may wish to map the material. Mapping a material consists of using the navigator to resize it, rotate it or fill the object space with the material, the latter is referred to as “Map to Extents”.
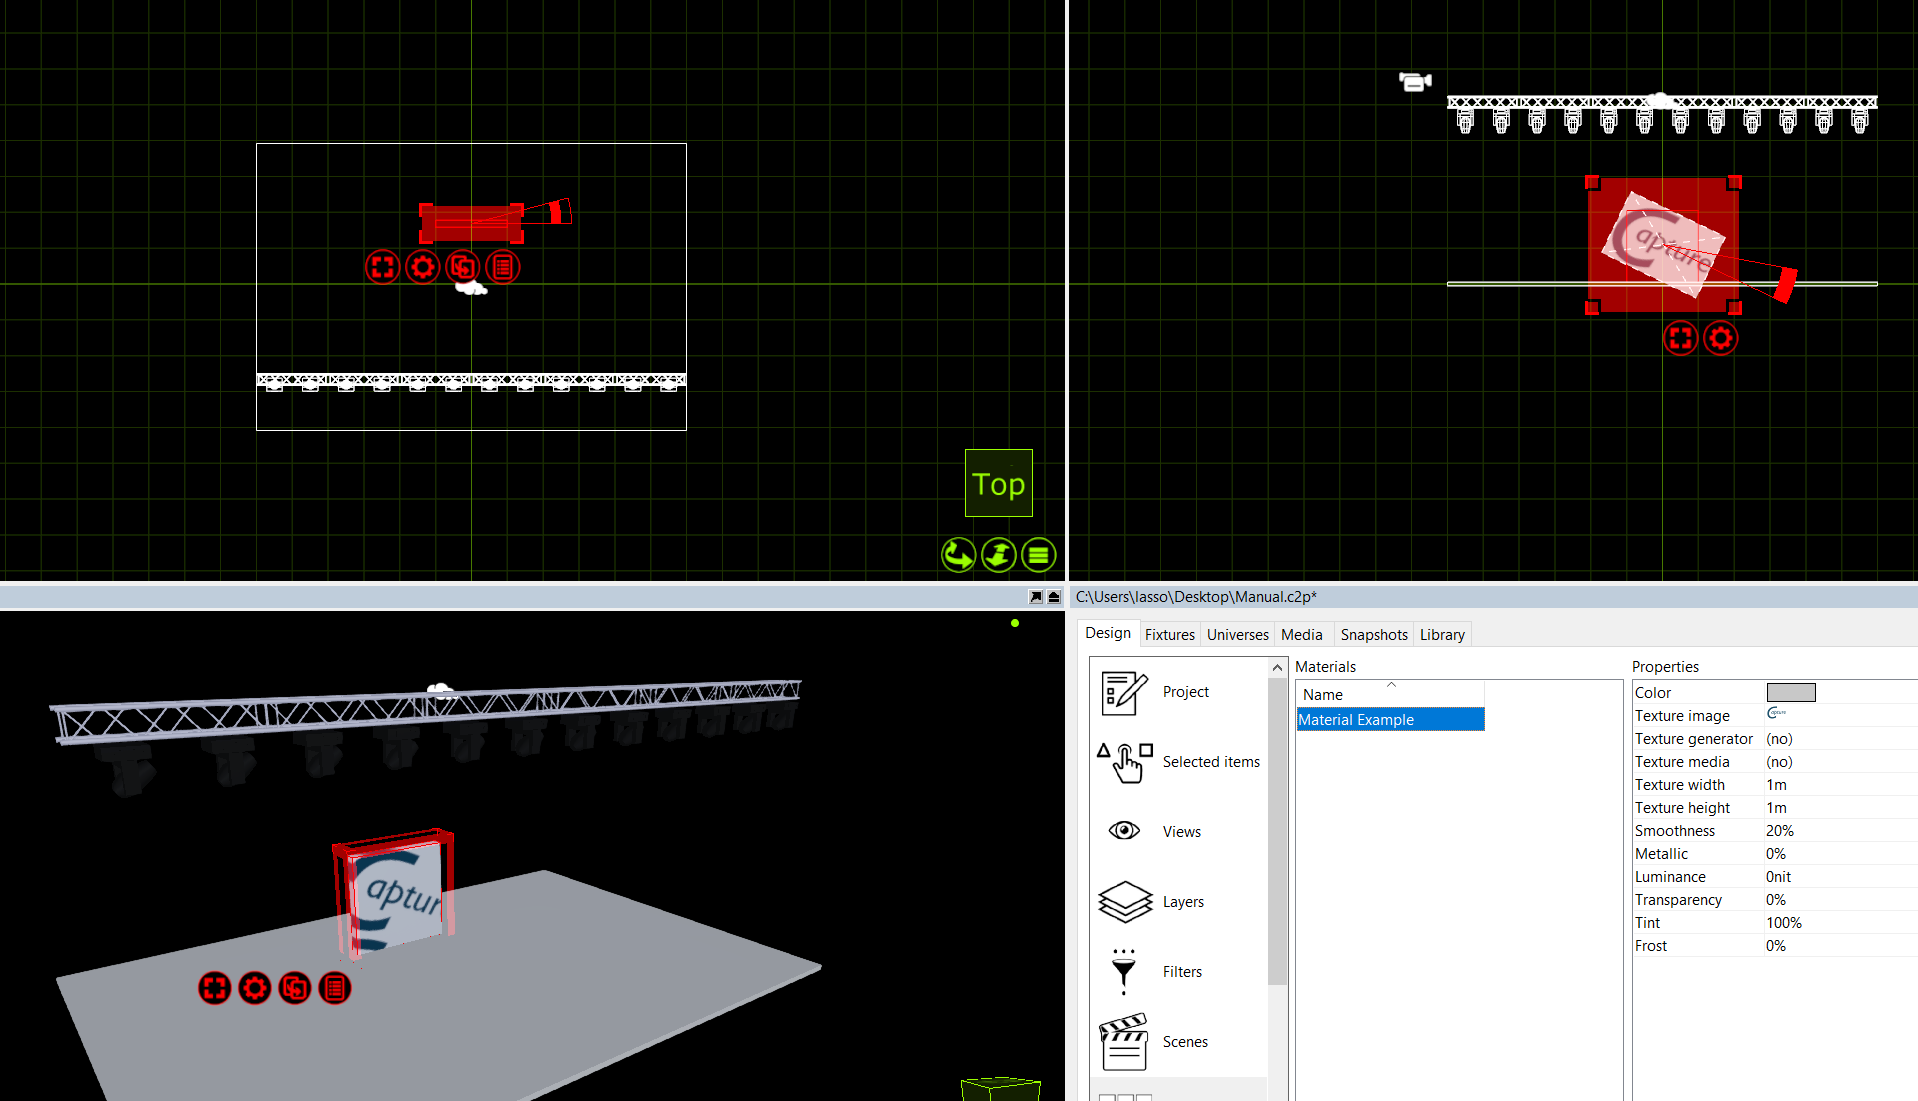
Moving and resizing the material with the navigator is done in the same manner as other objects. You may Map a material to multiple objects at the same time. Simply select all to the objects and drag the material to them, select the “Map Material” mode and map the material to your liking.
9.3 Material Properties
The Color property defines the base color of the material. Capture utilizes the Physical Based Rendering (PBR) material model in which absolute white or black should normally be avoided.
The Texture image, Texture generator and Texture media choices are mutually exclusive and allow you to apply a texture to the material. This texture is combined with the base color and unless you wish to tint the texture with a color, the Color property is then best set to pure white.
Use the Texture Width and Texture Height properties to define the physical real-world dimensions of the image, generator or media texture applied. These dimensions define the size of the image regardless of the object it is applied to.
The Smoothness property defines how rough or smooth a surface is on a microscopic level. A material such as concrete would have a much lower smoothness value than for instance varnished wood.
The Metallic property allows you to mimic metallic looking finishes for metal items such as a car or steel beam. This should normally only be set to either 0% or 100%.
The Luminance property allows you to create materials that simulate light emitting surfaces such as flat screens or LED panels.
Transparency allows you to set transparency for an object so to act like glass or gauze. This property works together with the Tint which determines whether items behind the object assume the colour of the object itself, as is the case with glass but not gauze. Finally Frost allows you to to give transparent objects a frosted effect.
9.4 Texture Generators
Texture generators are a kind of crossover between media servers and static image textures. Texture generators produce a matrix image where the cell colours are controlled by DMX. This can be used for a number of effects, for example dimming a luminous object or simulating an RGB LED tape.
Texture generators support two DMX modes - Dimmer and RGB. In Dimmer mode each cell is coloured from black to white, based on a single DMX value. In RGB mode each cell’s colour is controlled by three DMX channels.
When patching a texture generator the number of channels required is determined by the DMX mode chosen and the number of rows and columns configured. Ie. a 3 by 3 matrix in RGB mode requires 3 x 3 x 3 = 27 DMX channels.