17 Library Tab
Here you can find content to drag and drop into your design.
17.1 Installation and Updates
The library is a separate download from Capture itself. The first time you access the library tab you will need to download and install the library. This is done from within the management view, which opens automatically if you don’t have a library installed.
The Download button downloads and automatically installs the latest library directly from our website.
The Install Library.. button lets you select a library file to install that you have downloaded yourself from our website.
If you need to update the library at a later point you can always open the library management view by clicking on the cog wheel button at the top left of the Library Tab. Since the library is being updated almost daily, it is a good practice to periodically download and install the latest.
Technically the installation of a library simply means copying the library file to the correct location. On macOS this is ~/Library/Application Support/Capture 2025 and on Windows it is C: (name) .
17.2 Content and Support
If you discover any issues with or are missing something in the library you can reach out to us at library@capture.se. Library support is included with every Capture licence.
17.2.1 Student Edition Library
The purpose of the Student Edition is to allow students to learn the principles of making lighting designs with Capture. In order to be able to provide the Student Edition for free, the library is limited to around 50 fixtures that are representative of the fundamental types of technology used by the industry.
17.3 Built-in
17.3.1 Distance
Distance measurements can be used both to measure distances and serve as spacers or construction geometry by setting a specific distance.
See Object Properties - Distance for more information.
17.3.2 Angle
Angle measurements can be used both to measure angles as well as server as construction geometry for known angles.
See Object Properties - Angle for more information.
17.3.3 Line
Lines can be used to indicate many things, such as for instance the center line on stage.
See Object Properties - Line for more information.
17.3.4 Ruler
Rulers are good for aiding the reader of a plot judge the size of objects and distance between them.
See Object Properties - Ruler for more information.
17.3.5 Image
Images are good for creating reference underlays in designs. They are meant to be used in Wireframe and Plot mode in design views, and are invisible in Live mode in design views.
See Object Properties - Image for more information.
17.3.6 Cable
Cables can be used to add cable run information to plots and reports.
See Object Properties - Cable for more information.
17.3.7 Point Snapper
Point snappers are widgets that make it possible to create object groups that snap in custom ways.
See Object Properties - Point Snapper for more information.
17.3.8 Directional Snapper
Directional snappers are identical to Point Snappers, but also orient the snapping object so that it lines up with the other directional snapper.
See Object Properties - Directional Snapper for more information.
17.3.9 Line Snapper
The line snapper is a widget that Point Snappers and Directional Snappers snap to.
See Object Propoerties - LIne Snapper for more information.
17.3.10 DMX Mover
DMX Movers can move objects across a predefined range along the X Y Z axis.
See Object Properties - DMX Mover for more information.
17.3.11 DMX Rotator
DMX Rotators can be used to rotate objects around an axis and within a specific range.
See Object Properties - DMX Rotator for more information.
17.3.12 Motion Construct
Motion constructs are used with tracking protocols.
See Object Properties - Motion Construct for more information.
17.3.13 Report Item
Report items are widgets that make it possible to add equipment and information to reports.
See Object Properties - Report Item for more information.
17.3.14 Rigging Point
Rigging points are symbols with a special meaning. They can be listed and counted in reports as well as show position information in plots (when the Show coordinate property is set to Yes).
17.3.15 Smoke Machine
Smoke machines are symbols with a special meaning. They can be listed and counted in reports.
17.3.17 Smoke
Smoke boxes are widgets that represent an area of atmosphere. All new projects contain an auto sizing smoke box by default. When selected, a smoke box is shown as a grid box.
Typical applications of more than one smoke box include denser smoke on stage in an arena with otherwise thin haze as well as localized fog situations such as heavy fog or fog behind a glass.
Limiting smoke to the area around the stage also helps avoid problems with beams pointed towards the audience over-saturating the visualisation.
See Object Properties- Smoke Box Properties for more information.
17.3.18 HDRI
HDRIs are widgets that allow loading HDR images for environmental lighting. An HDRI provides a backdrop to the environment and more interesting ambient and specular lighting.
See Object Properties - HDRI for more information.
17.3.19 Reflection Plane
Reflection planes are widgets that assist the rendering engine in the creation of secondary reflections.
See Object Properties - Reflection Plane for more information.
17.3.20 Focus Plane
Focus planes are widgets that provide visual guidance and illuminance information when focusing fixtures.
See Object Properties - Focus Plane for more information.
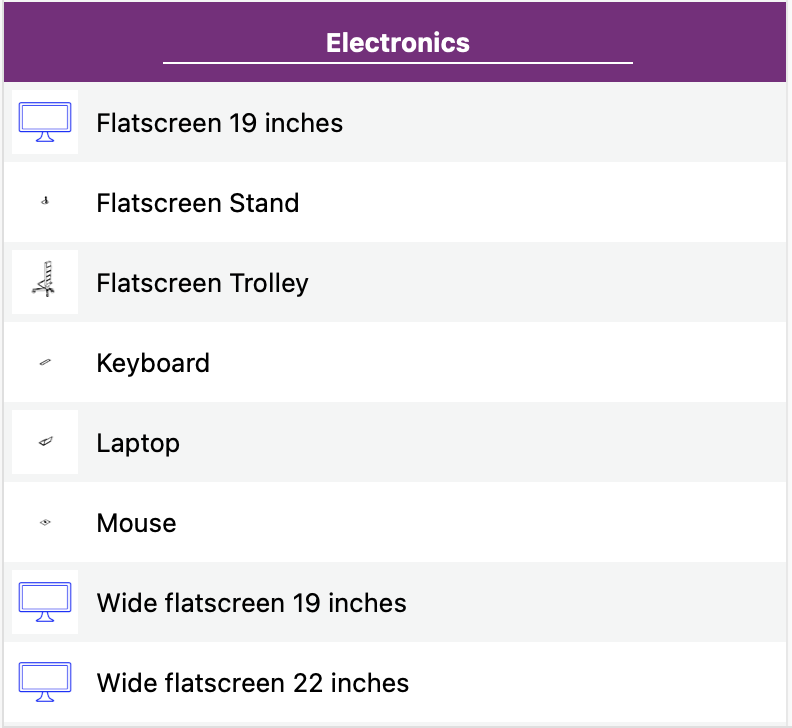
17.5 Objects
In this category you will find a comprehensive list of objects (adjustable or not) sorted by type. Do note that objects with icons in blue are adjustable, whereas objects with icons in black can’t have their size changed.
17.6 Materials
This category contains a list of materials sorted by type that you can drag and drop on any object. Since library materials are not editable, you will need first to duplicate them, in case you need to make adjustments. You can do so in the Materials category under the Design tab where all the materials used in the project are listed.
17.7 Truss
This category contains a list of truss parts both static and dynamic, sorted by manufacturer. The filtering mechanism on the right-hand side is designed to help you find the truss part you are searching for faster. Dynamic truss parts are automatically generated according to their dimensions. Static truss parts are manually drawn by our Library department team.
17.8 Fixtures
This category contains a list of fixtures sorted by manufacturer. The filtering mechanism on the right-hand side is designed to help you find the fixture you are searching for faster.
17.8.1 Orientation reference arrow
When you drop a fixture into the project, by default the lens is pointing downwards. As if you have just rigged a light on a bar or truss.
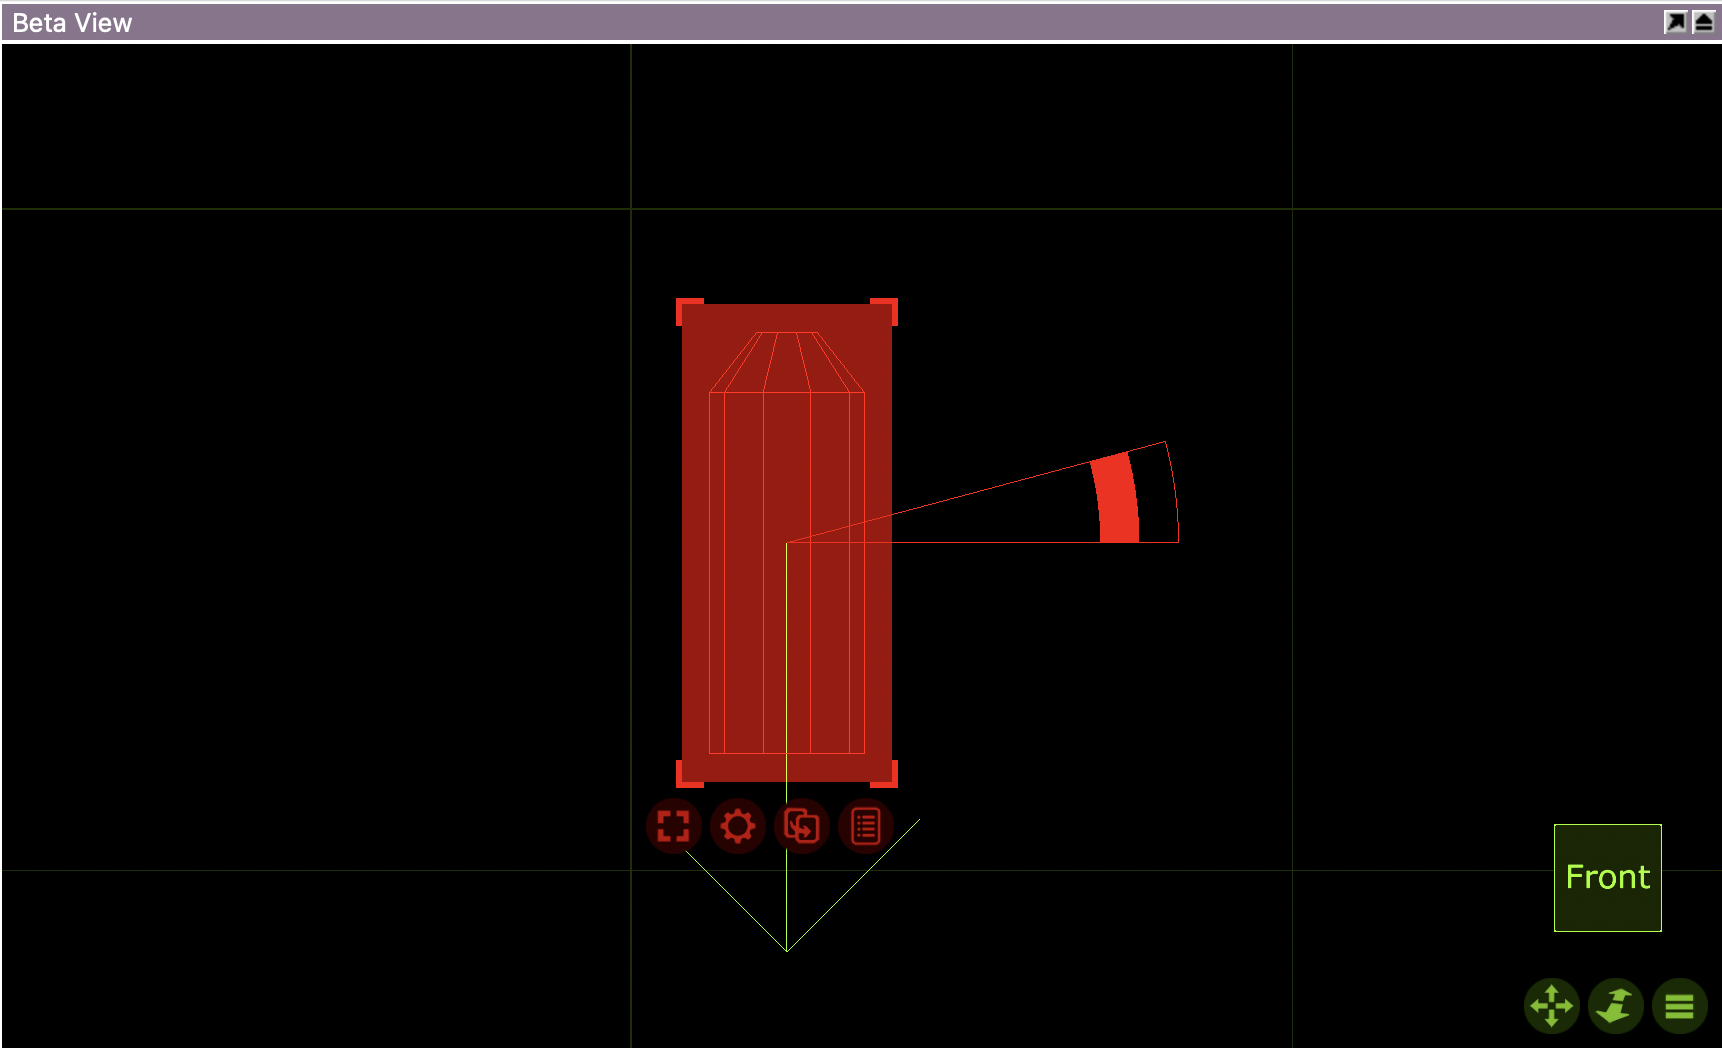
When selected, views in Wireframe mode will display a yellow arrow as an extra visual aid of the fixture’s orientation.
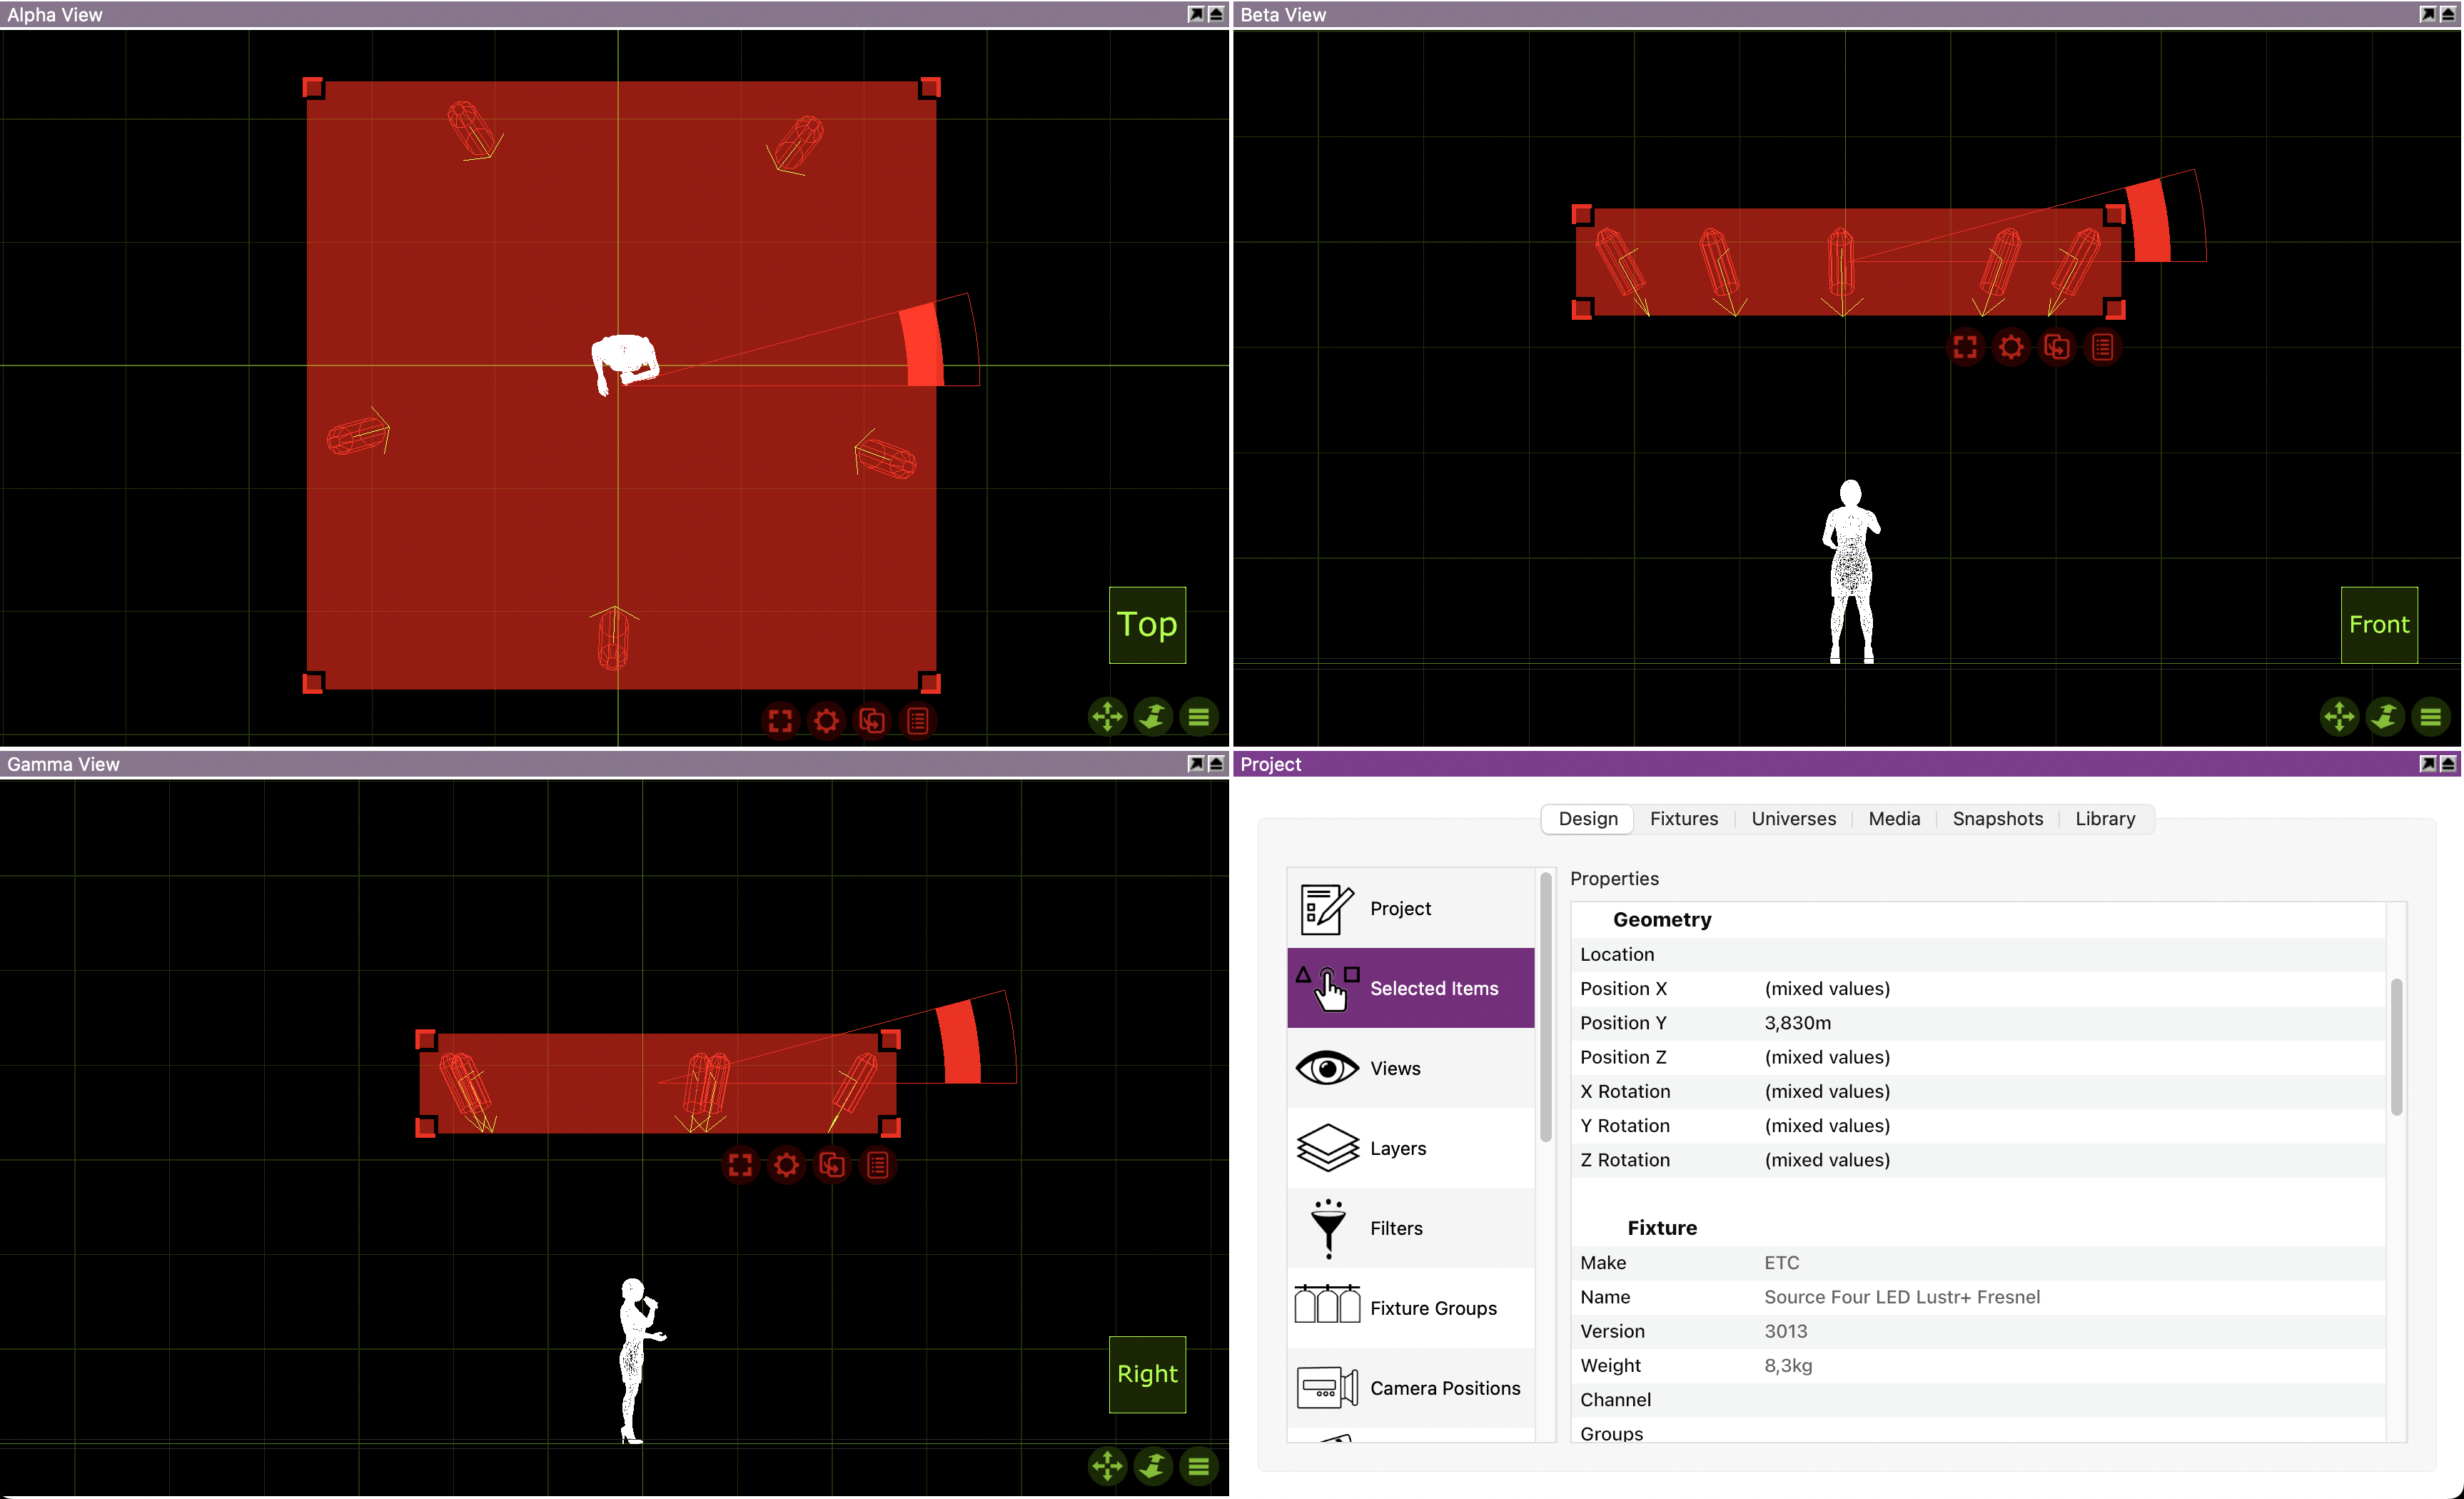
In the case of moving heads, the arrow, when viewed from above or from the side, is pointing to the opposite side of the display.

17.9 Fixture Symbols
This category contains a list of fixture symbols sorted by manufacturer. The filtering mechanism on the right-hand side is designed to help you find the symbol you are searching for faster. You can either replace the original symbol of a fixture with something from this category, or add a symbol as a mere graphical representation of a fixture.
17.10 Symbols
This category contains a list of symbols sorted by type. The filtering mechanism on the right-hand side is designed to help you find the symbol you are searching for faster. You can add any of the symbols as a report item, if you need to make your plot more informative on items other than fixtures.